ZippKits.com JAE 21FE Rigger Cowl
Trimming and decal application instructions. Click on photos to enlarge.
Click HERE for a PDF Image that will print on one page.
Cutting High Impact Polystyrene
 |
 |
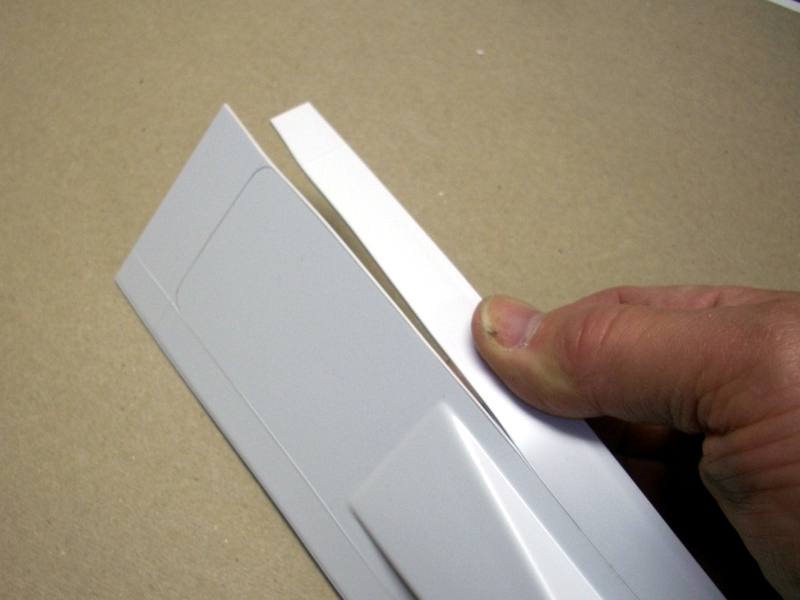 |
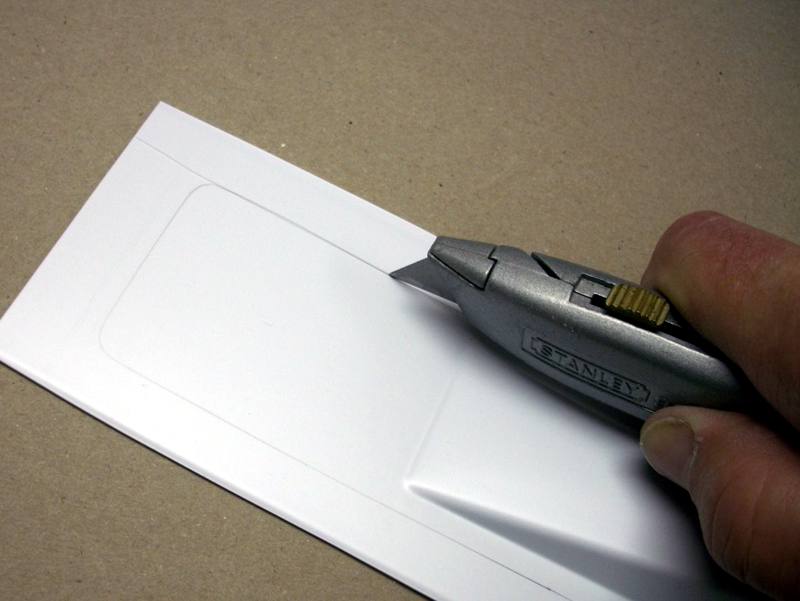
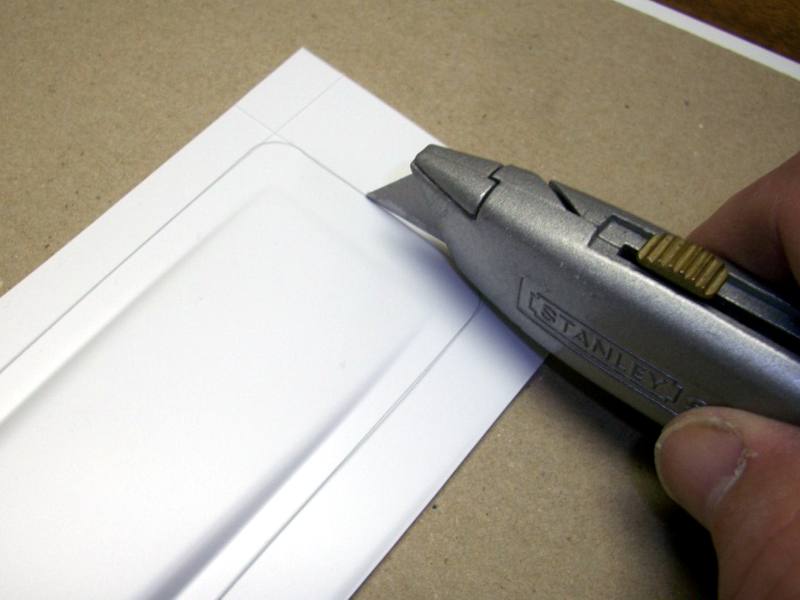
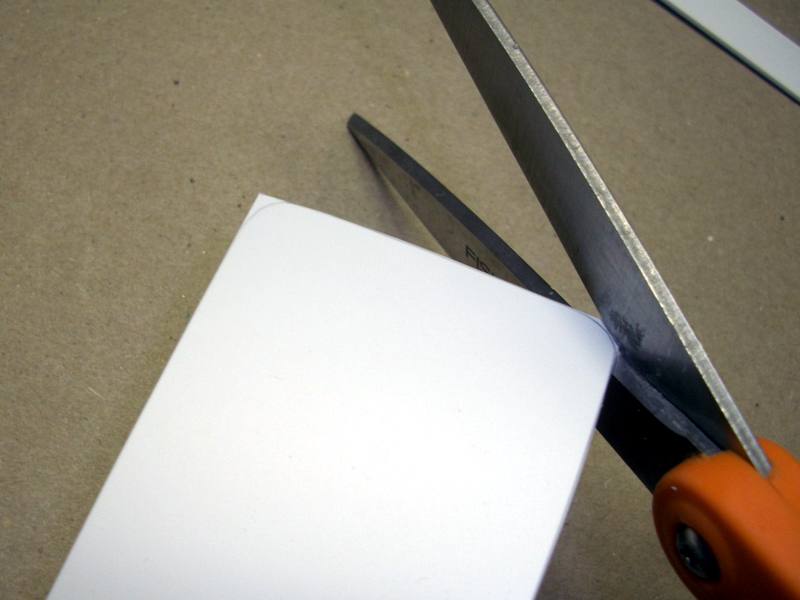
| Use a box cutter or hobby knife with a new blade to score the pencil mark. Make one light pass concentrating on following the line, then follow with a second pass. | You are not cutting through the plastic. You just want to cut the surface. If you are uncomfortable with razors, then use a pair of sharp scissors to cut out the cowl. | Bend or fold the plastic along the scored line to break it. |
 |
 |
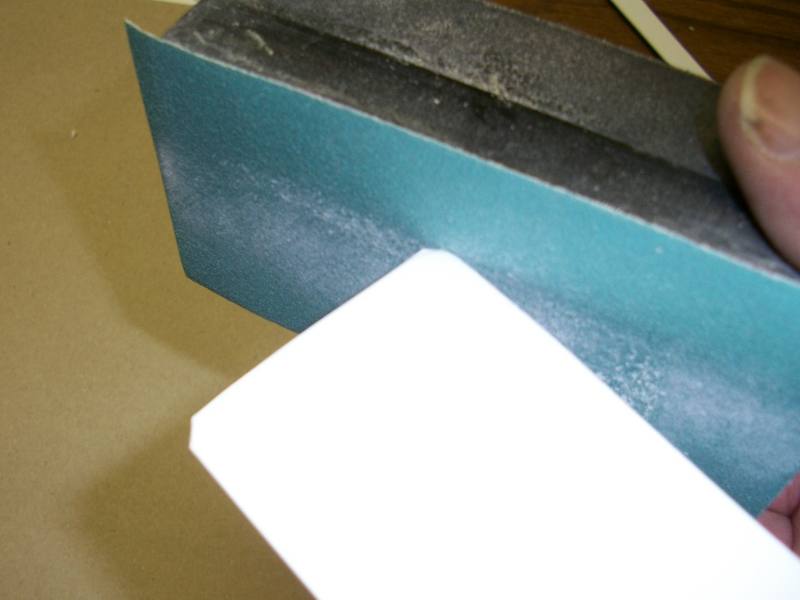 |
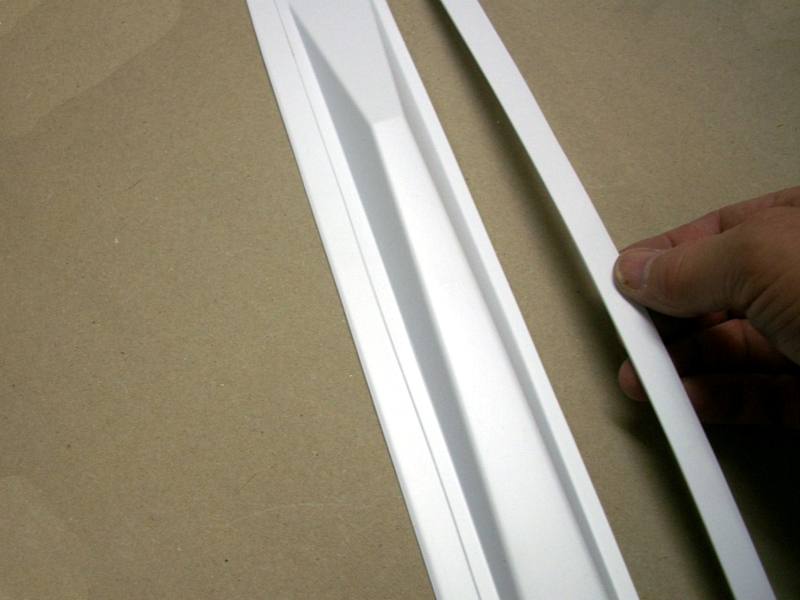
| Once the piece has separated, repeat for the other three sides. | Make rough cuts at the corners with scissors. | Round the corners to the pencil marks with 100 grit "medium" sandpaper. Anywhere you cut outside of the line, use sandpaper to sand the sides smooth and straight. Continue to sand until the part fits your boat. |
Applying the Windshield Decal
Install after the paint has fully dried.
 |
 |
 |
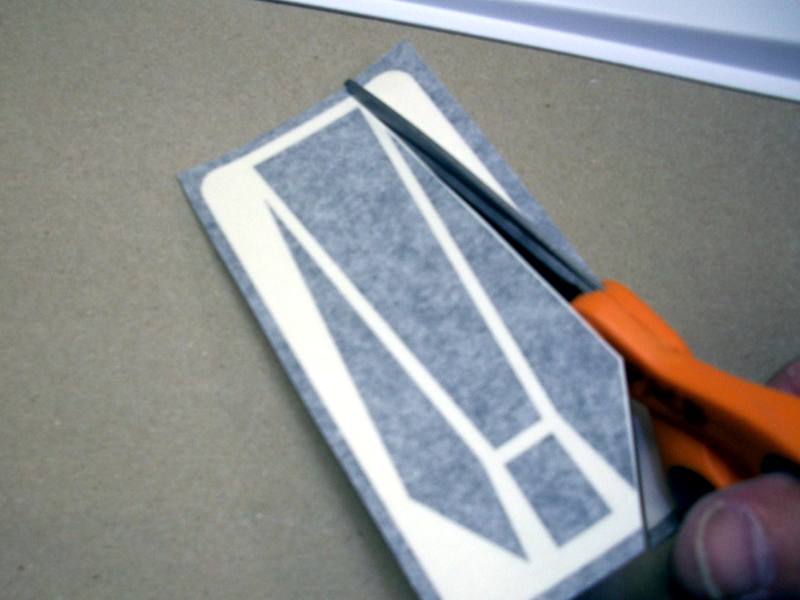
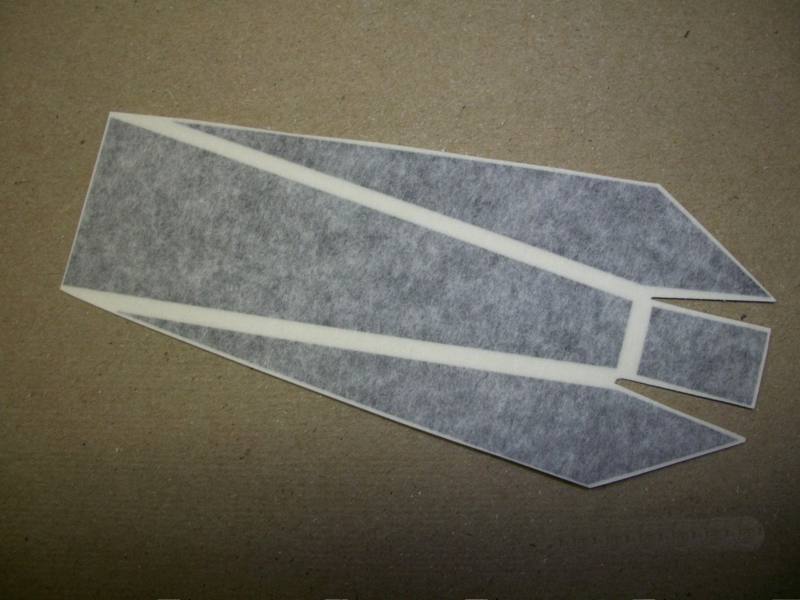
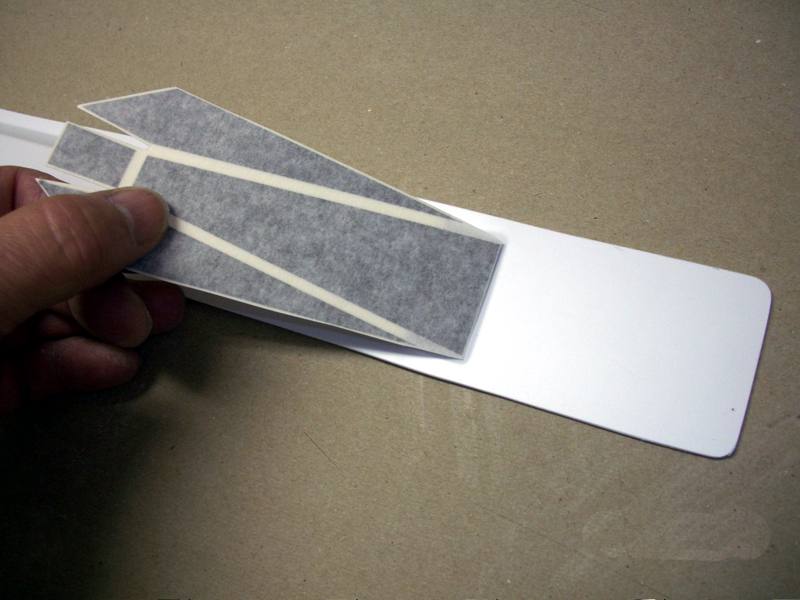
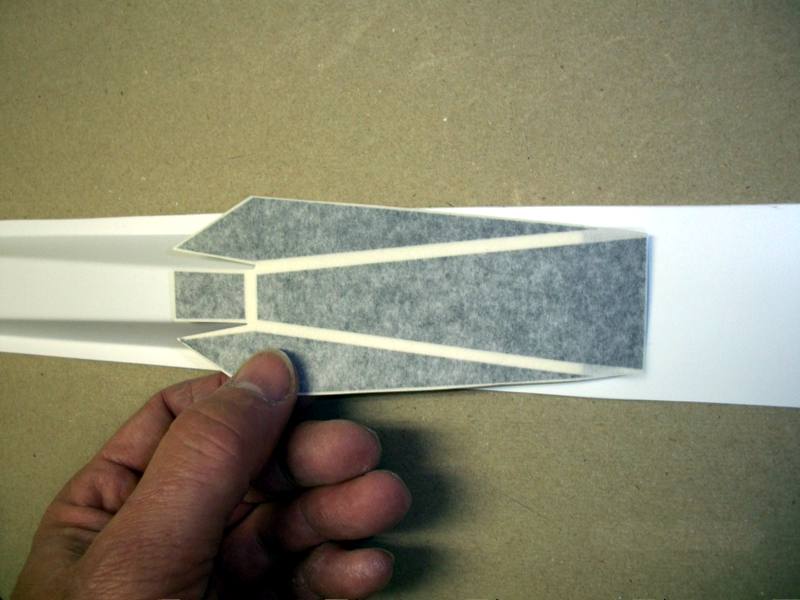
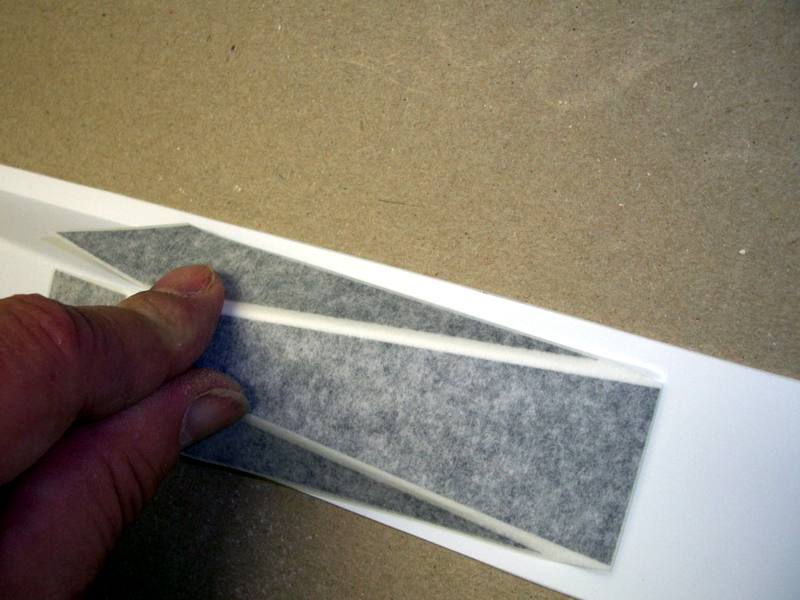
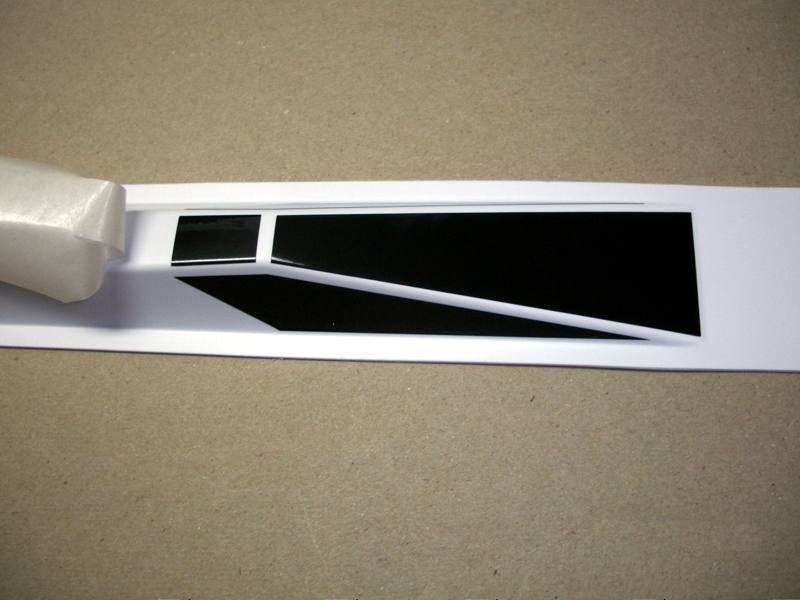
| Cut the decal close to the edge of the black vinyl. | Cut two notches in the white area between the roof and the side windows. | Fold the backing paper back about 1/2 inch. Avoid touching the adhesive side of the vinyl decal. |
 |
 |
 |
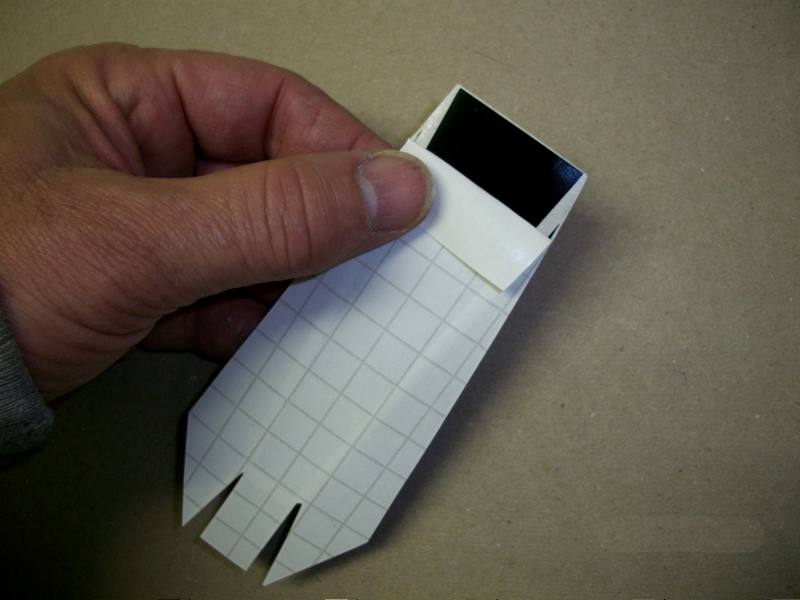
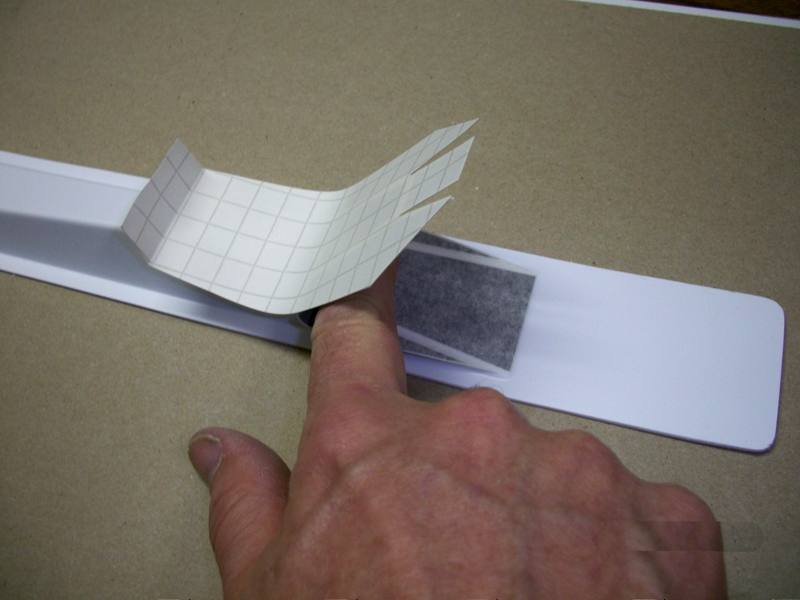
| Set the front of the windshield at the base of the cowl where the windshield slope begins. Touch the front edge of the windshield to stick it to the cowl. | Check the alignment of the decal by laying it back on the roof. If it is not aligned, peel it off and start again. | When it is aligned, press across the front and begin to peel the backing paper off. |
 |
 |
 |
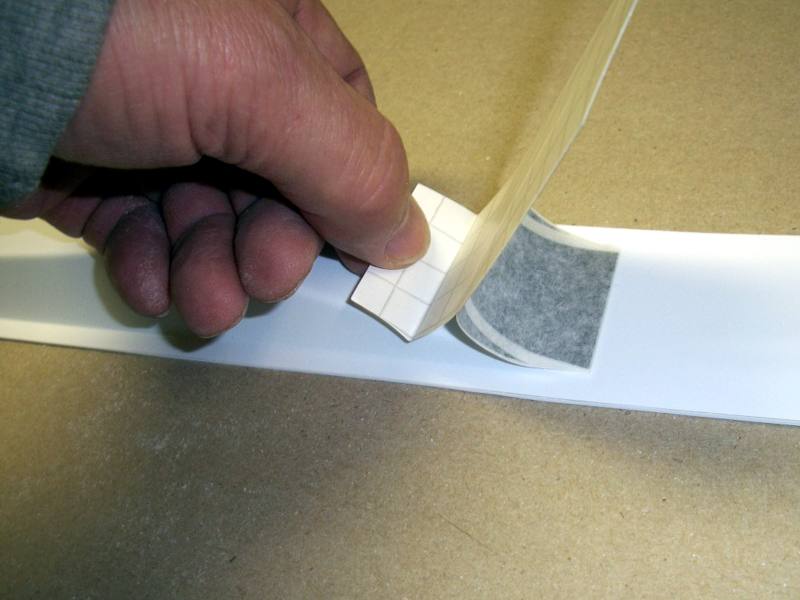
| As you peel the paper rearward, slide your finger rearward, firmly along the decal. This will avoid trapping air bubbles under the vinyl. | Fold down the side windows by running your finger along the crease back & forth moving downward, until the side window is adhered to the cowl. | From the front, peel the application tape off of the decal. Peel slowly, making sure that you are not lifting off the decal at the same time. |
![]()
 TM
TM