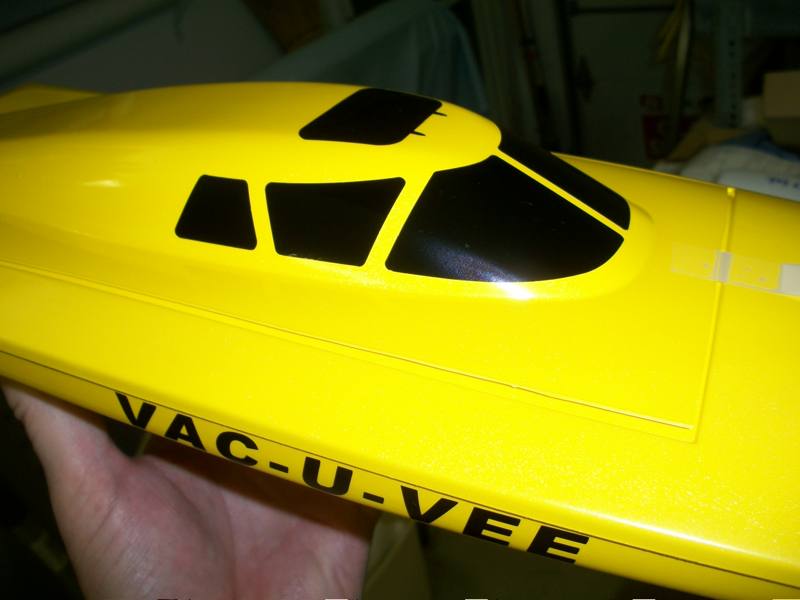
Vac-U-Vee™
27" Deep Vee RC Boat Hull

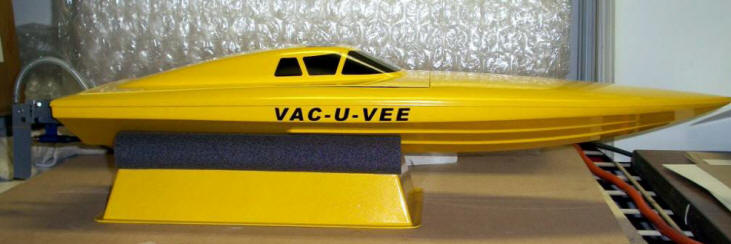
Length: 26-15/16 in. Beam: 7-7/8 in. Empty Hull with Cowl weighs 19.7 ounces +/- .
Available as an Assembled Hull.
The Double-Hull and Double-Deck are reinforced with a full ribbed & straked epoxy-mold-laminated liner simulating the structure of a traditional wood-built hull. This integral reinforcement gives it the rigid feel of fiberglass without the need for added bracing. The transom reinforcement, and motor mount base are 3/16" Hot-Pressed Mahogany Plywood. A Mahogany plywood servo mount provides for a secure servo which can be changed with a screwdriver. You have to feel the hull to believe how strong a plastic boat can be.
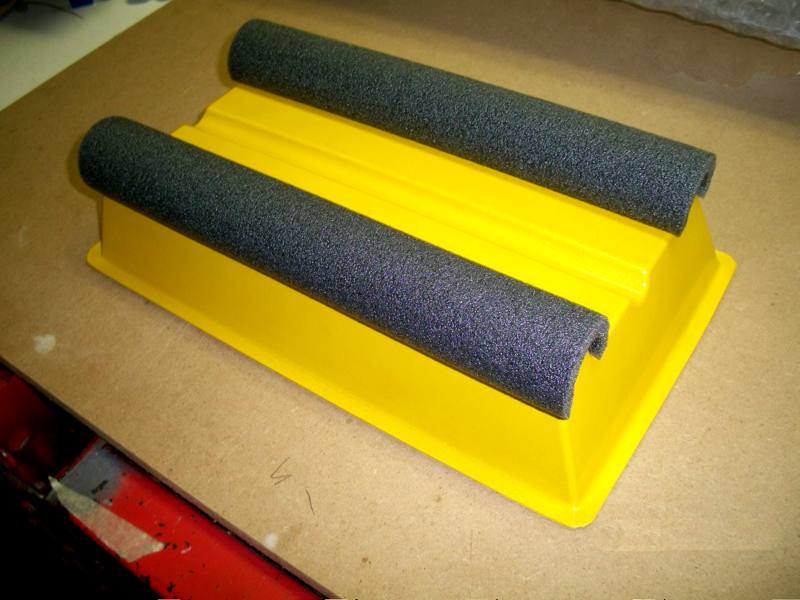
The package includes the assembled Hull, Tear-drop Hatch Cover, Aluminum Motor Mount kit with 3/16” hot-pressed mahogany Base and pre-installed 6-32 blind nuts, stainless socket head screws, stainless washers, & a hex wrench, M3 motor socket head screws, motor washers, motor hex wrench, 1/8" hot-pressed mahogany Servo Mount, molded Boat Stand with pre-cut foam Mount Pads, an easy-to-apply combined windshield and roof hatch Decal Set.
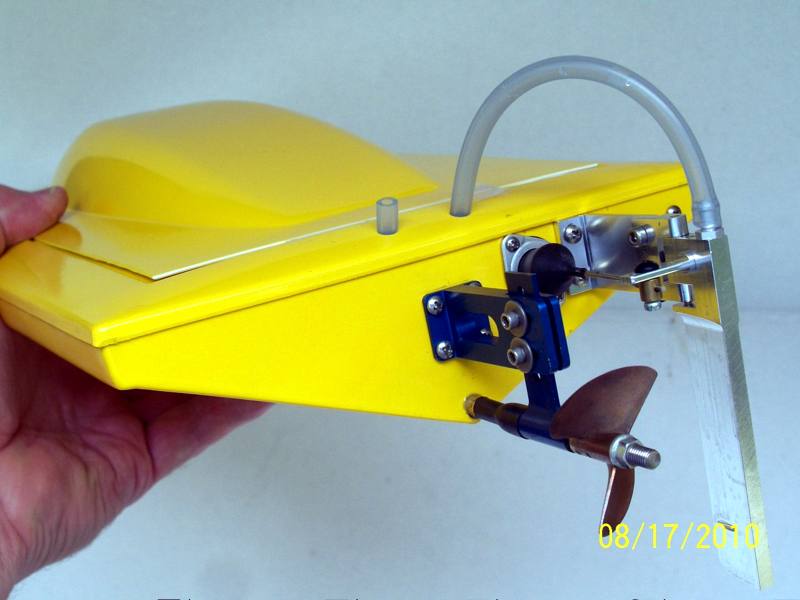
Running Hardware shown in these photos is not included.
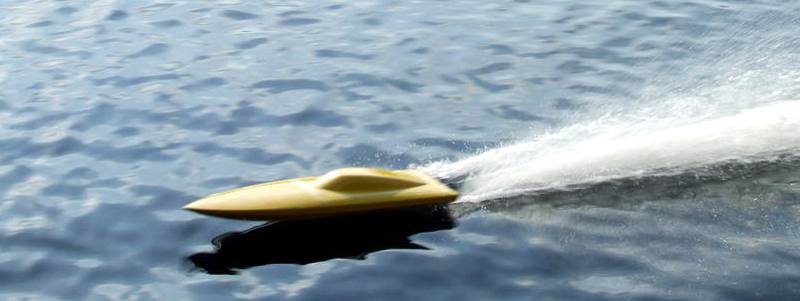
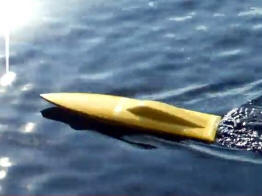
Preliminary testing at a GPS-verified 40 mph with the original blue AquaCraft® SV27 1750kv brushless motor.
 |
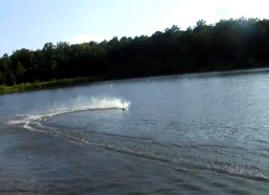 |
| Torque & Speed Test Video w/ SV27 Brushless Motor | Stability Test Video with 95mm Rudder. |
Click on all framed photos to enlarge.
 |
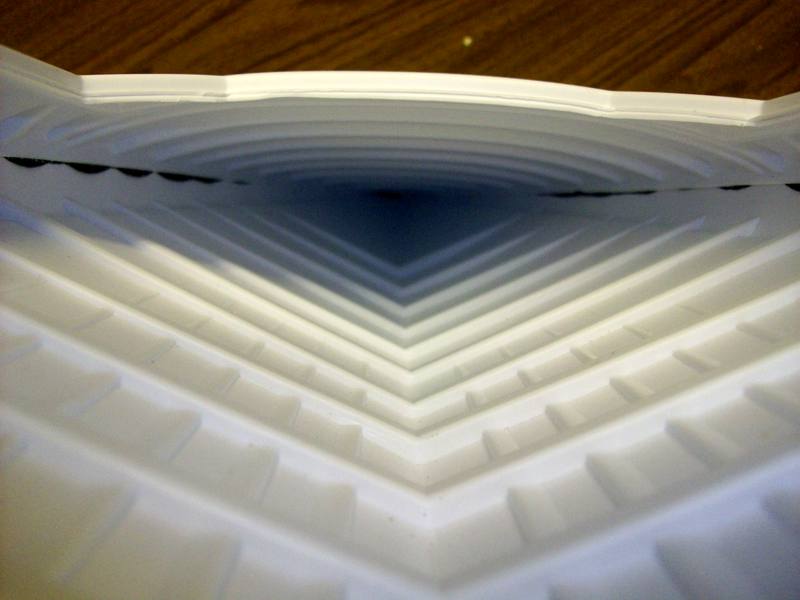 |
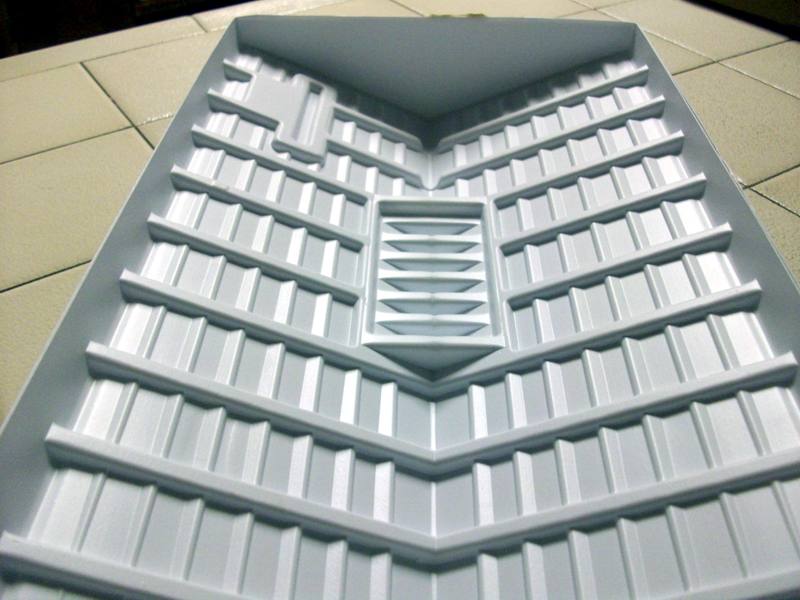
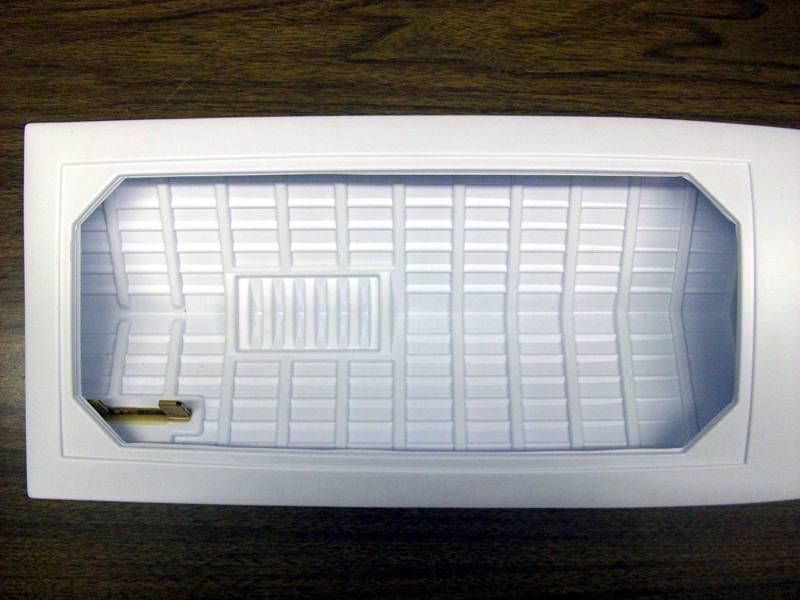 |
| Rear hull reinforced liner for superior strength like no other hull manufactured. | Hull and Deck Reinforcements toward bow. | Motor-Mount recess and Servo-Mount |
 |
 |
 |
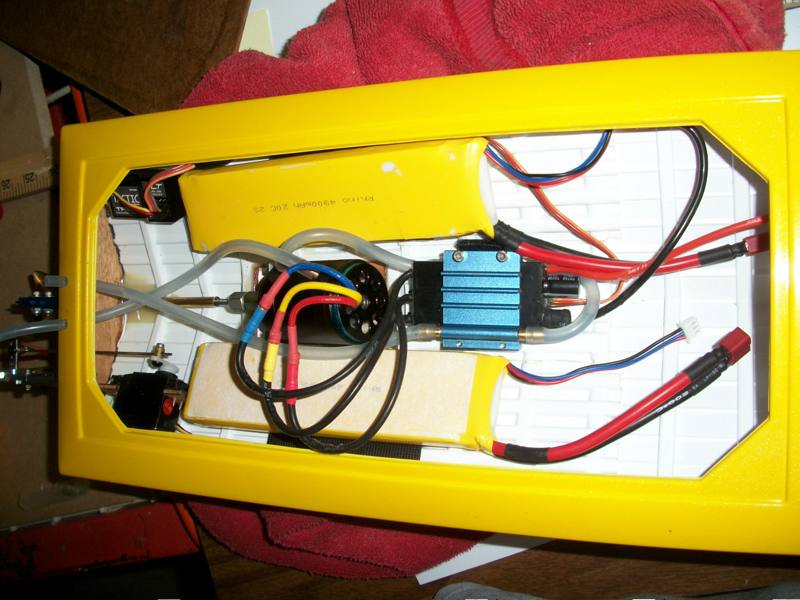
| Transom will handle high-performance hardware. | A form-fitting interior tray is supplied for velcro-attached batteries & ESC. | Easy-to-install decals sets are provided. |
 |
||
| A custom-formed boat stand with pre-cut ride pads are included. |
I never got around to making basic instructions. The photos on this page show some of these steps.
Several build examples on this page: http://www.vac-u-boat.com/Vac-U-VeePhotos.htm
The yellow boat (Mine) has no Battery/ESC Tray in it because I didn’t know it needed one until I tried to stick the batteries down with Velcro and the hull ribs limited my surface contact.
I found that proper alignment of the servo bracket is easier if it is screwed to the servo and the servo is connected to the rudder when you epoxy it in place. This allows you to make minor position adjustments for an unobstructed linkage between the servo arm and the rudder.
Make sure the pushrod stays relatively centered in the hole in the transom.
You have to roughen the plastic with 100 or 120 grit paper where you want the epoxy to bond best. A filler in the epoxy is needed so the epoxy will be less brittle. Anything from microspheres to talcum powder works well. Mix 1 volume of filler to 1 volume of mixed epoxy.
The battery/ESC tray (not installed) gives you a better surface for the black “commercial grade” Velcro to hold down your LiPos. It is made to wrap around the front of the motor base recess. In a high speed flip, using the commercial velcro, it should not separate or let go of your batteries.
Sand the underside plus the areas it will contact on the hull. Brush on filled epoxy and hold in place with weights until set. Heavy weights should not be needed, but if too heavy, you could deform the underside of the hull so you may need to support the flat areas with angled books.
Epoxy in the mounted motor and flex drive tube at the same time for best alignment.
The sealant that bonds the hull is flexible so it will take a hit.
Styrene likes plastic friendly paints. No sanding needed. They will soak in and chemically bond to the plastic. Avoid enamels as they can melt plastic.
Some urethanes like that used on fiberglass can affect plastic but more important, may not bond properly. This could cause your hatch tape to pull off paint and give your buddies more reasons to make fun of your boat.
Clear hockey tape is needed on the hatch. it is one inch wide and should not be reused between runs as its strength is needed to survive a high speed flip. Some make a lip at the leading edge of the hatch to fit under the front hatch opening to strengthen it in case it gets stuffed at high speeds.
Plastic friendly paints dry quickly, but don’t fully cure for a few days so hang up the hull to fully dry according to the paint’s instructions.
They also have “recoat within X hours or after X hours” recoating windows. Honor this, otherwise wrinkles can result.
The hull should be waterproof. As insurance, some will run a bead of CA around the deck/hull seam to make sure. Not really necessary, but no harm done. If you are concerned about leaks, tape a flat piece of plastic to the hatch with a piece of fuel hose inserted in a hole. Put the hull under water and blow into the hose to pressurize the hull and look for bubbles.
The hatch decals are installed together. Trim around them close, tape the front center to align it in place.
Flip forward toward the bow, to remove the backing paper then flip back pushing from the base of the windshield back over the roof to bond and eliminate bubbles. Then wrap the sides from center-around to bond and eliminate bubbles. A needle can puncture the side of a trapped air bubble to expel air. Similar to the Pickle windshield decal at the center of this page: http://www.vac-u-boat.com/PickleDecals.htm
Other method: Tape in place to align. Un-tape one side, remove that half of the backing paper, attach that side of the decal. Then lift and un-tape the other side, repeat.
For Radio Control, Manufactured by Vac-U-Boat™
| Vac-U-Vee™ Build Tips, Owner Feedback, & Modifications |
 TM
TM