UNASSEMBLED KIT INSTRUCTIONS
Vac-U-Pickle
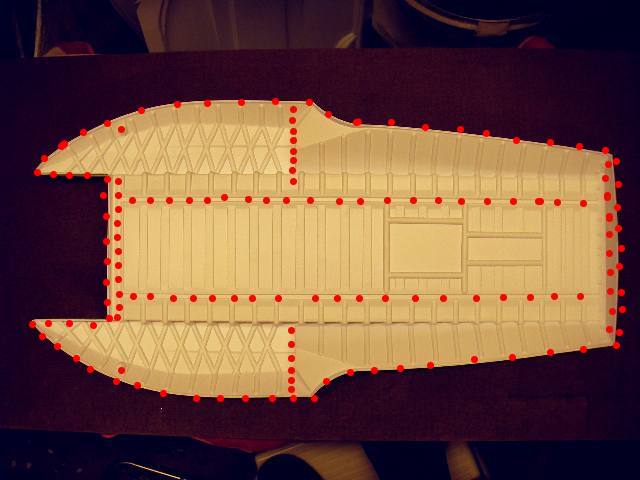
TM1:13 Scale Limited Sport Hydro
1:13 Scale N-2 Hydro
We recommend you let us build your Vac-U-Pickle hull. If you are feeling adventuresome, and want to give it a try, please review the following instructions and see if you are up to the challenge. Have lots of paper towels around to wipe away spilled sealant.
Click on any framed photo to enlarge. "Back" to return.
 |
 |
 |
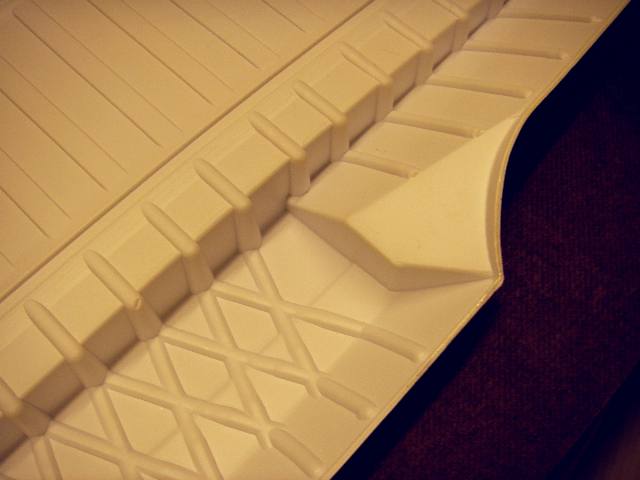
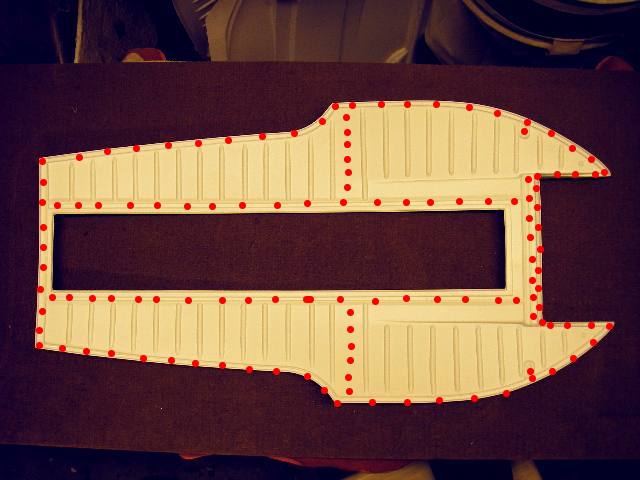
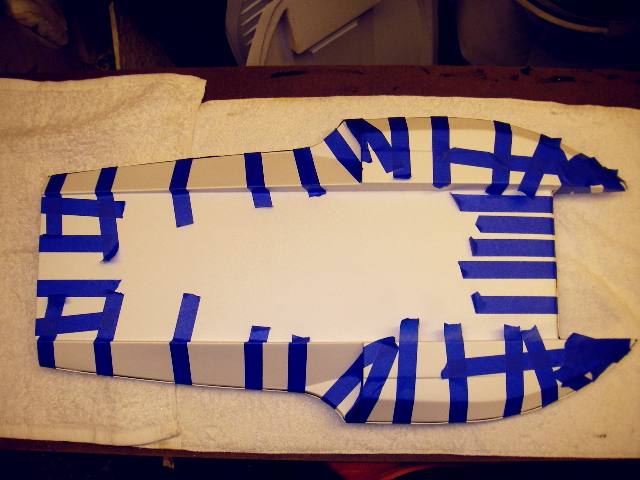
| These areas are sanded on the inside of the hull with 100 grit sandpaper. | Don't forget the flat area on the back of the sponson, | Sand these mounting points for the carbon fiber bow reinforcement. |
 |
 |
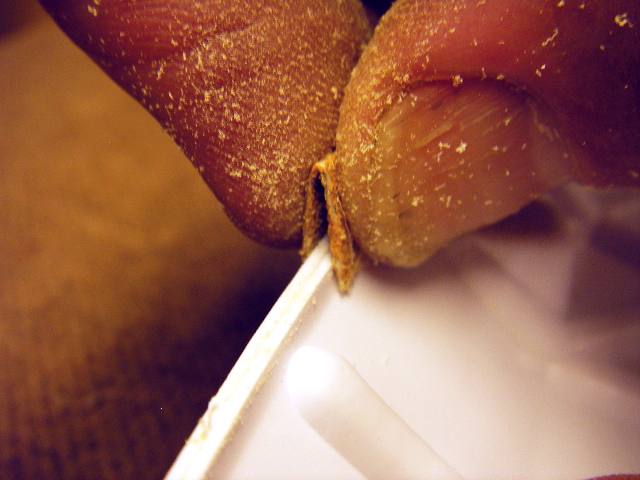 |
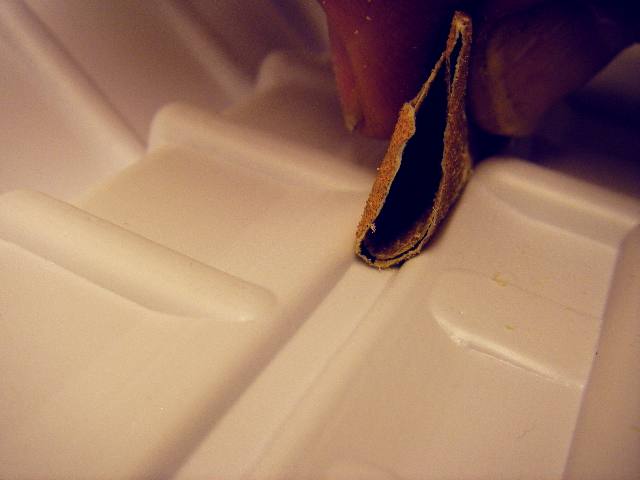
| Sand the inside of the transom and the groove along the bottom of the hull. | Sand the channels that run front to rear that will hold the ribs. | Using a small twice-folded piece of sandpaper, pinch-sand both sides of the perimeter of the hull. |
 |
 |
 |
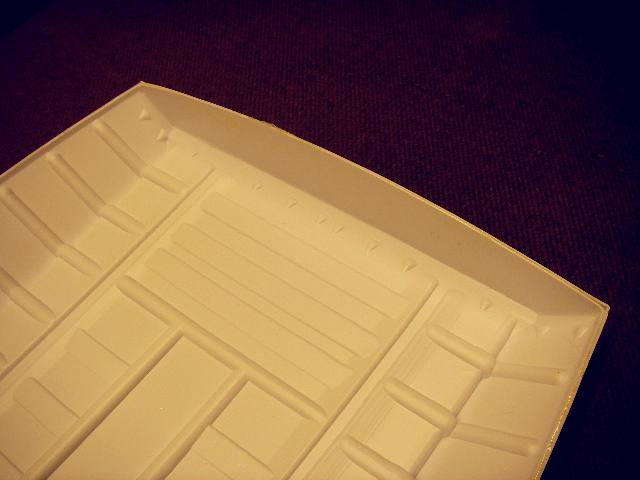
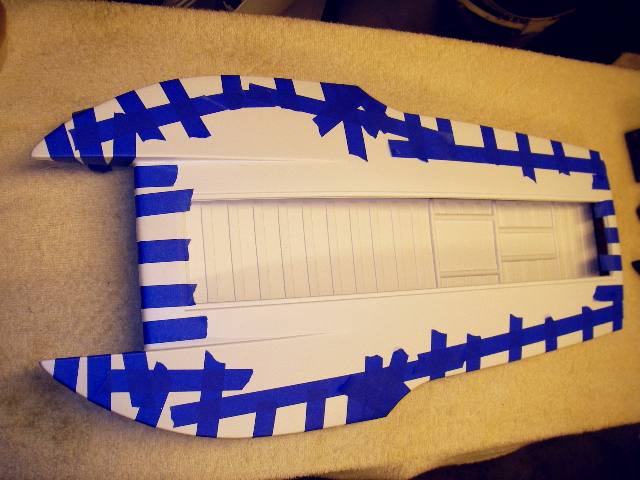
| These areas are sanded on the underside of the deck. | Same mount points for the carbon fiber rod. | Use a piece of twice-folded sandpaper to sand the inside of the perimeter channel. |
 |
 |
 |
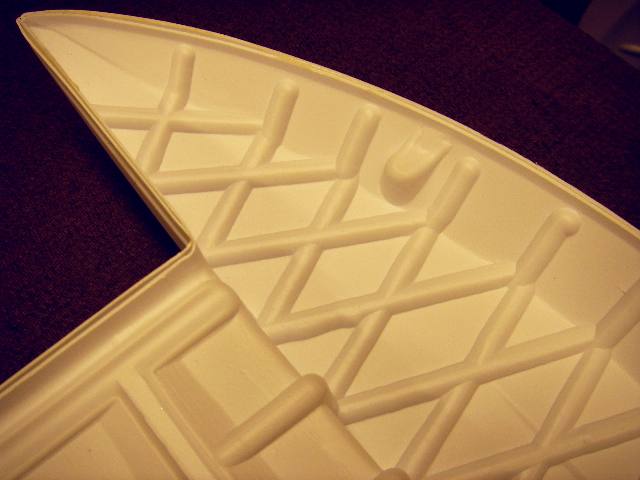
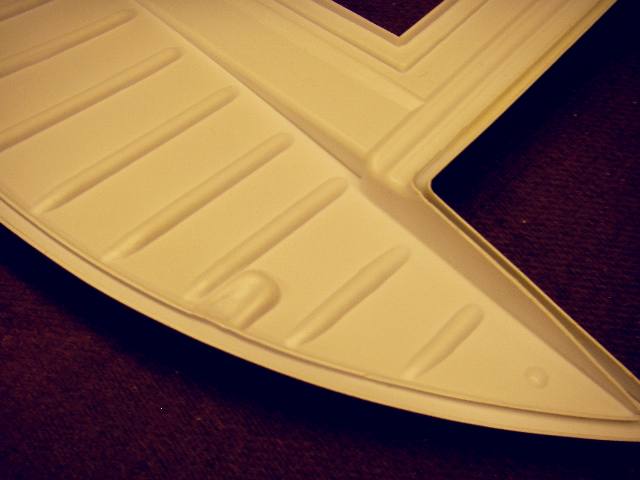
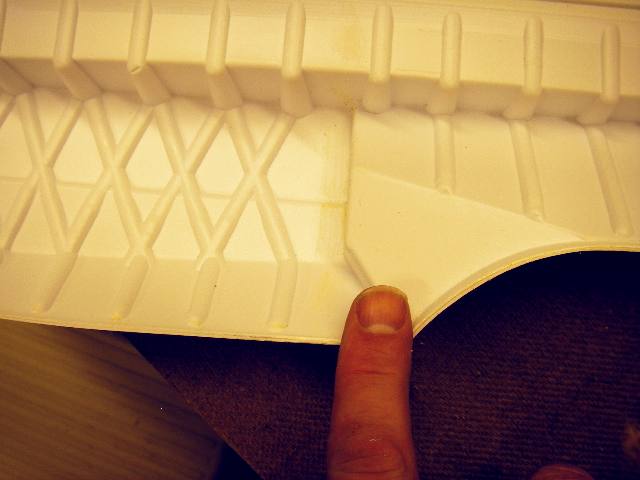
| Sand the deeper channel at the bow and inside of the sponson tips. | The sponson baffle reinforcement is installed about one finger forward of the rear of the sponson. | That same place on the deck is at the center of the wide space in the reinforcing lines. This is where the sponson baffles contact the deck. |
 |
 |
 |
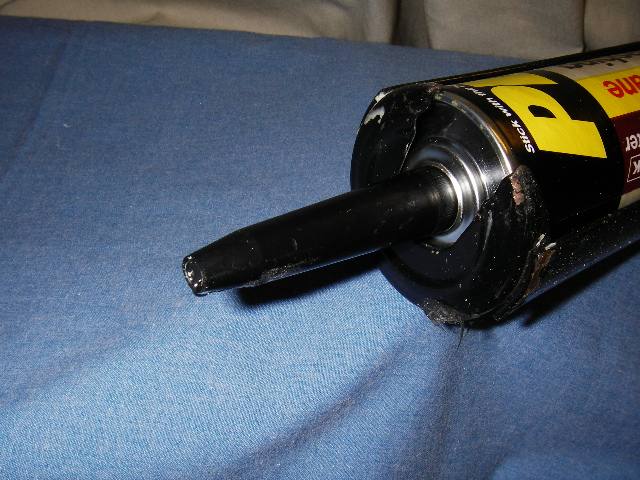
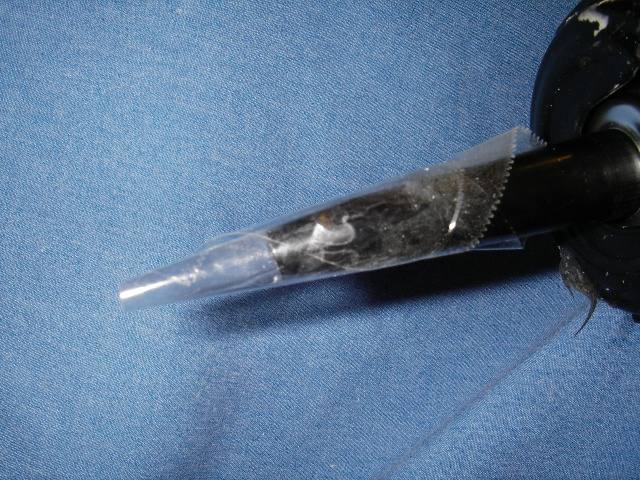
| If you use PL Polyurethane Roof Sealant (See Glues & Sealants page) to build your boat, prep the tube nozzle like this. Cut open the tube & puncture the inner seal. | Wrap the end with a piece of clear packing tape to form a small extension of the nozzle. Trim the tip with scissors to adjust the tip size. | Now you can extrude a small (1/8") bead of sealant from the now-flexible tip. |
 |
 |
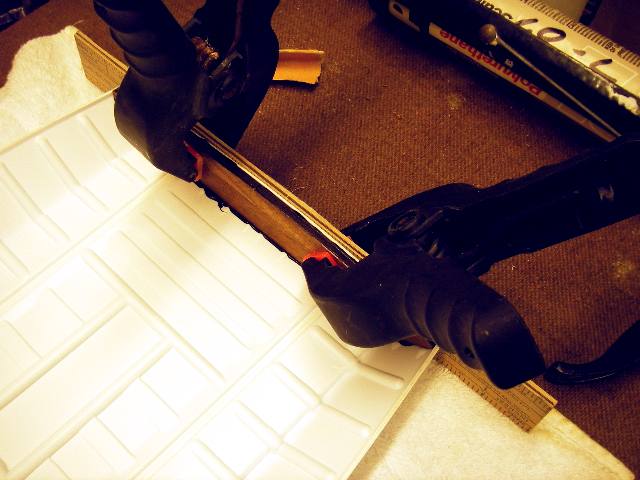 |
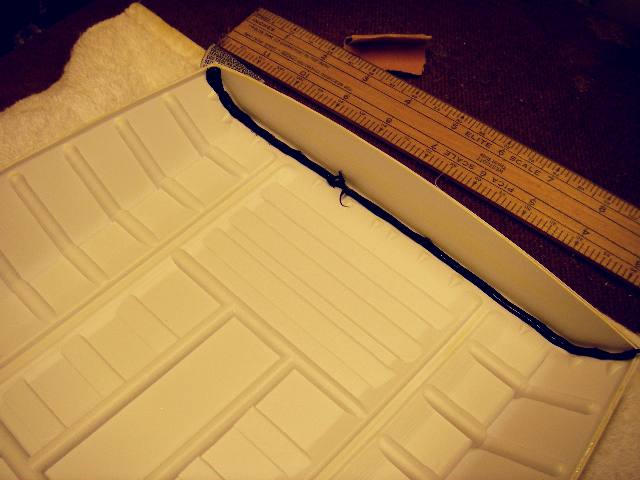
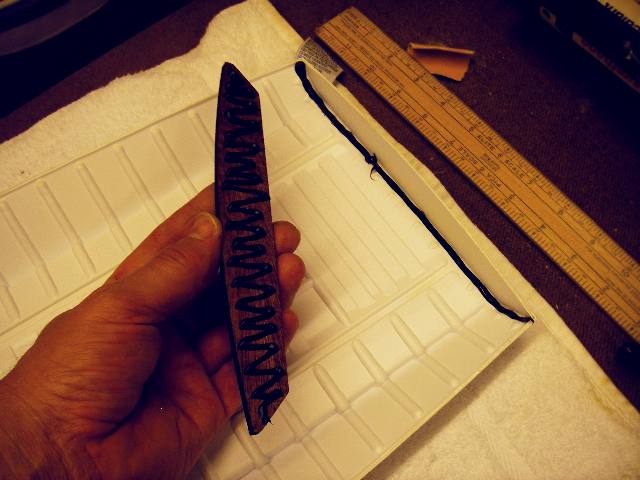
| Without sealant, set the ply transom reinforcement into the hull. Sand the reinforcement top to match the height of the transom. Put a bead along the hull at the transom bottom. | Put this pattern of sealant on the rear of the transom reinforcement. The rear has shiny areas in the epoxy coating. | Using clamps, and a ruler or wood scrap to clamp the reinforcement against the transom. Move the clamps and squeeze. Remove the clamps. Wipe off excess sealant on top of the transom. |
| Before installing the ribs, look at the end of the instructions to see if you want to use one to trace a curve on a scrap of foam to better press the deck to the hull. | ||
 |
 |
 |
| Set a sponson bulkhead in place. See the area that will be glued to the hull. | Fill that area with sealant. Then put a bead of sealant around the bottom of the bulkhead where it will contact the hull. | Set each bulkhead into place. With your fingers, squeeze it against the back of the sponson to squeeze out excess sealant. |
 |
 |
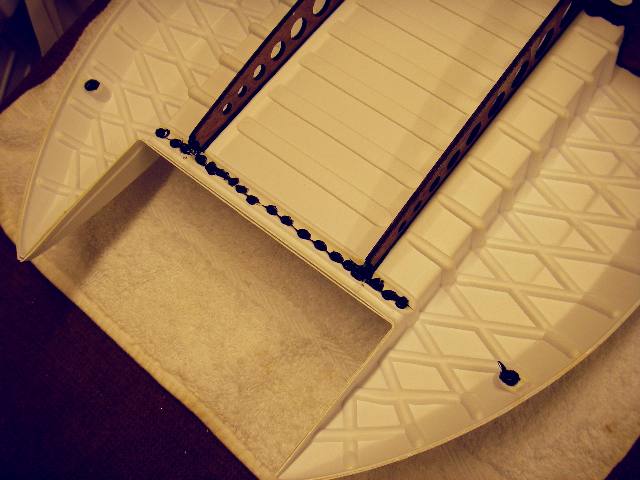 |
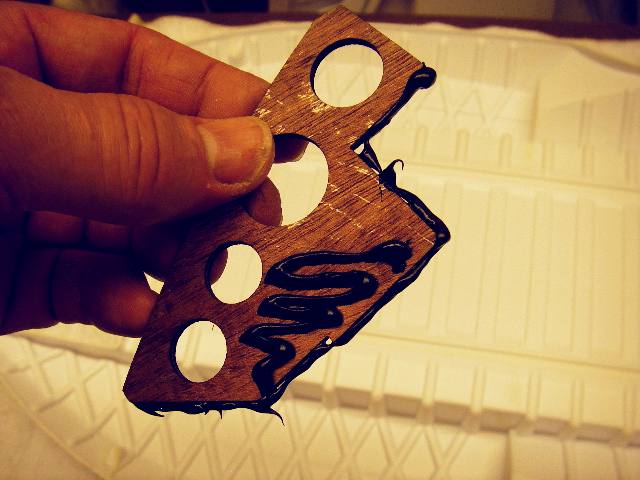
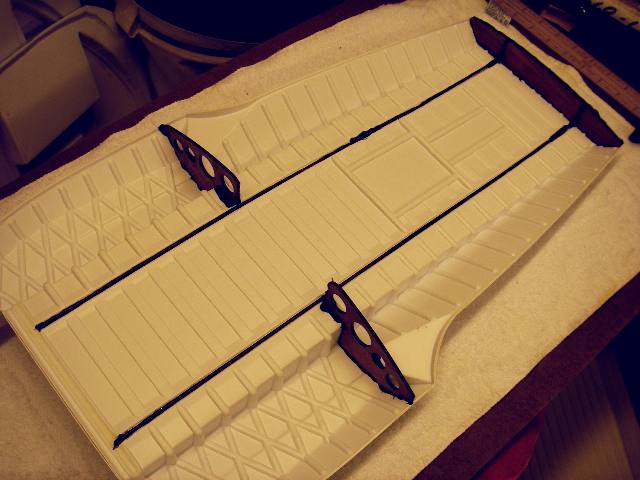
| Place two beads of sealant filling the width of each rib groove. At the transom, turn the bead upwards. Before installing the ribs, look at the note near the end of the instructions for making a curved clamping assist strip from a piece of styrofoam. | The rib with the oval hole goes on the right side of the boat. Engage the rib into the transom sealant, then set it down into the hull groove. Do the same for the left rib with the servo-mount hole. | Put sealant on the carbon fiber rod mount points. |
 |
 |
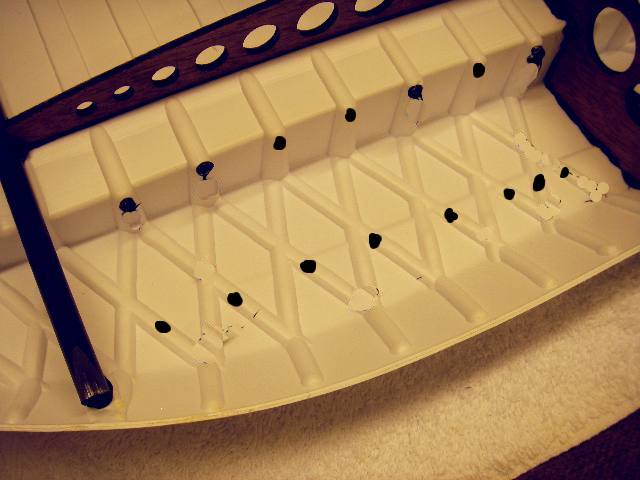 |
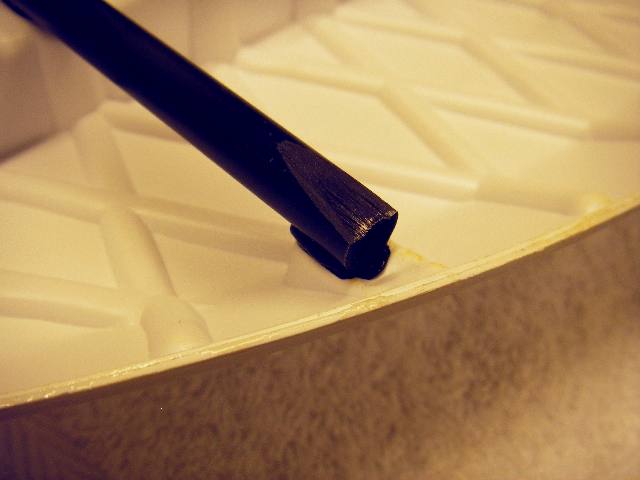
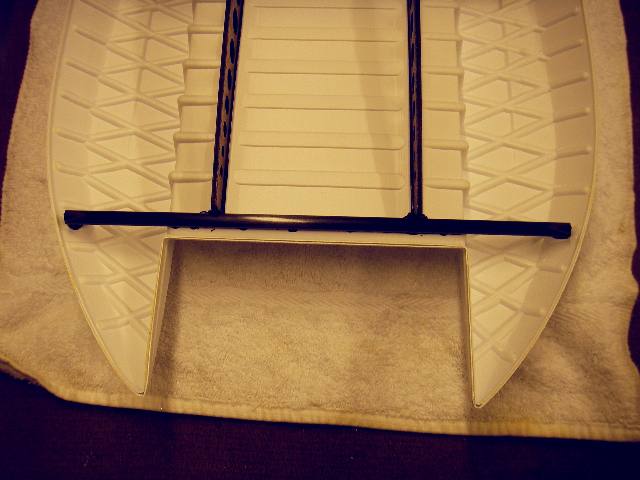
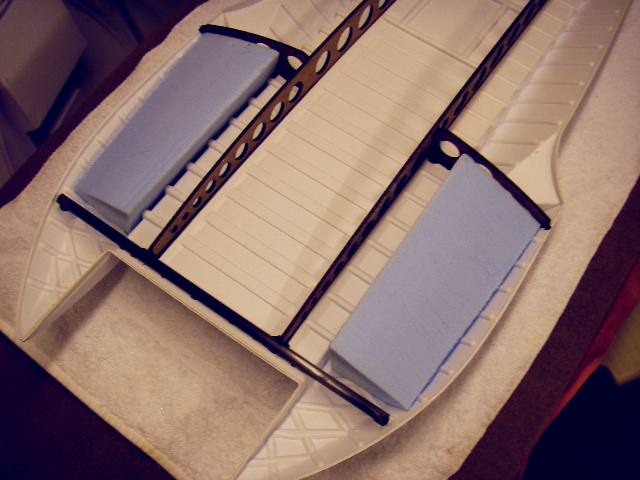
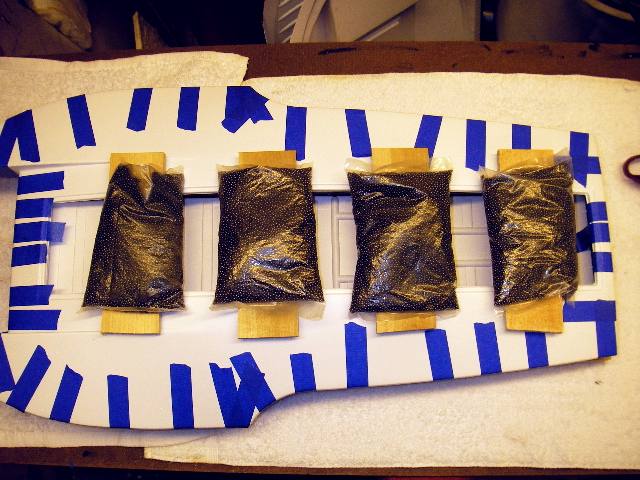
| Set the carbon fiber rod down with the beveled tips facing up. | Center the bow rod so the end gap to the edges of the hull is equal. | Put two rows of sealant dots in each sponson to hold the foam in place. Use enough to hold the foam securely. |
 |
 |
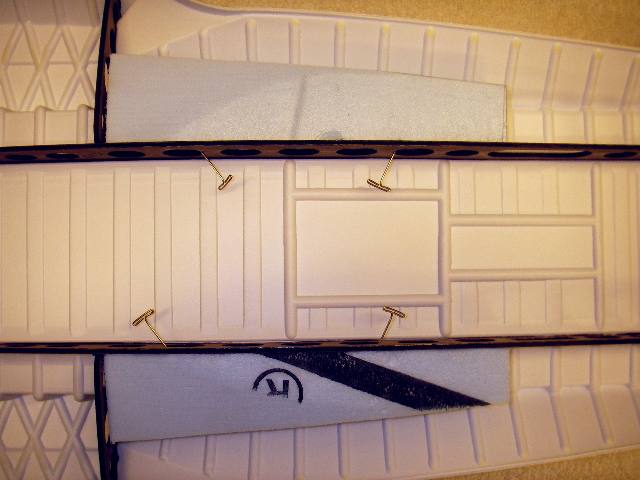 |
| Press each piece of foam in place. Each piece is cut to fit one side only. Check the fit before applying sealant. Use enough sealant to hold the foam in place when you turn the hull over. | Set the after-plane flotation in a similar bed of sealant. Install two pins like this to temporarily hold them in place. | Note the areas sanded to taper the top of the flotation to match the curve of the sponson bulkheads. It will only fit this way. |
 |
 |
 |
| Put a bead of sealant along the top of both sponson bulkheads and set the hull aside. | Apply sealant to the underside of the deck. Using an up and down motion, fill the upper half of the deep grooves at the inside sponsons. Fill the shallower front bow-groove. Wipe off excess above groove. | The bead fills the outside corner of the U-Channel. Don't fill the channel. 1/2 full is plenty. Avoid too-thin of a bead. |
 |
 |
 |
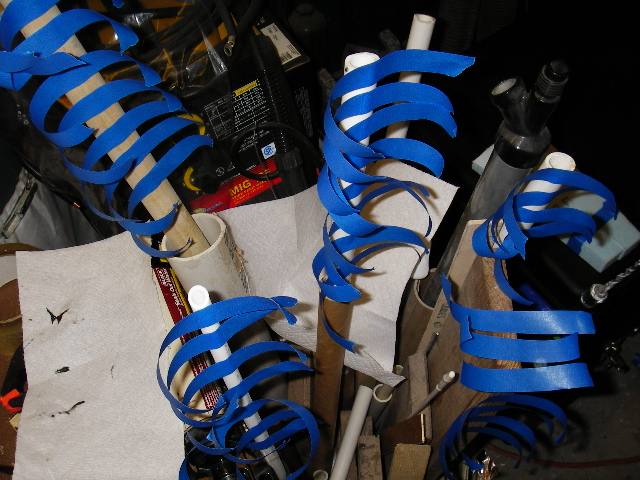
| Invert the hull and set into the transom-end of the deck lining up at the transom. | Tear off about 45 six-inch pieces of 3/4 inch removable painter's tape. | First, engage the hull into the perimeter groove of the deck at the transom. Tape the transom, lining up the two rear corners. |
 |
 |
 |
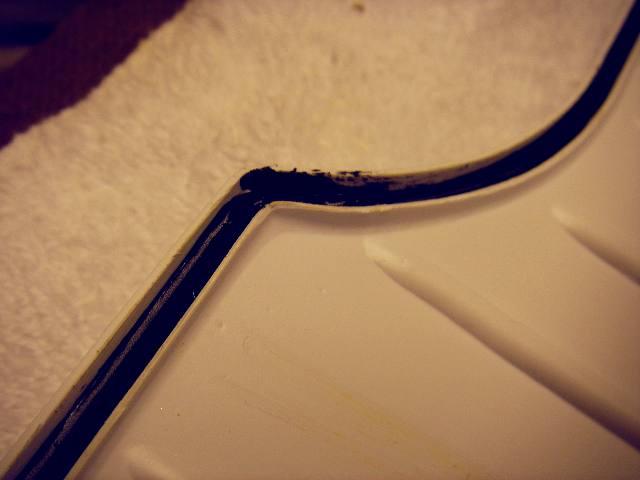
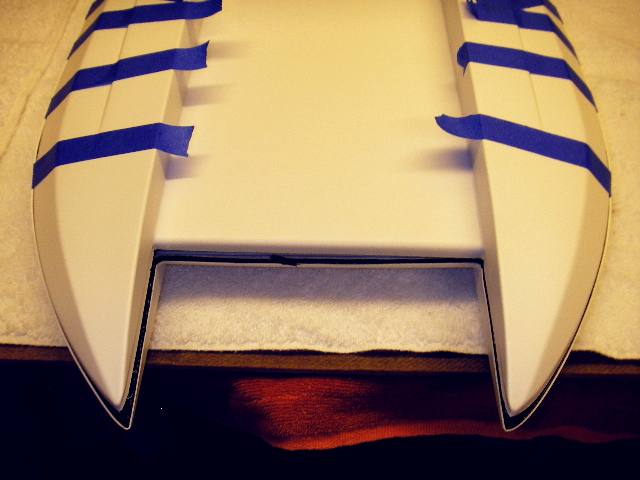
| Then work your way toward the bow in 2-inch steps. Tape under (on the deck) first, then pull up and over the hull as you engage the hull into the deck, to pull the perimeter seam together. | Align the hull to the deck and use the tape to keep the seam tightly closed. | Use several at the rear sponson as this area is most likely to tend to separate. |
 |
 |
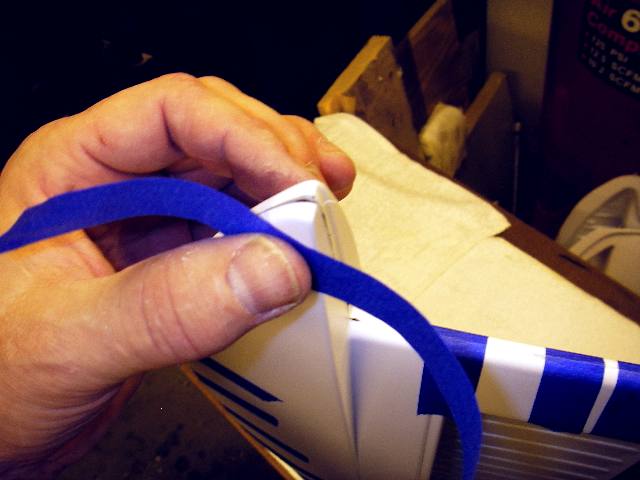 |
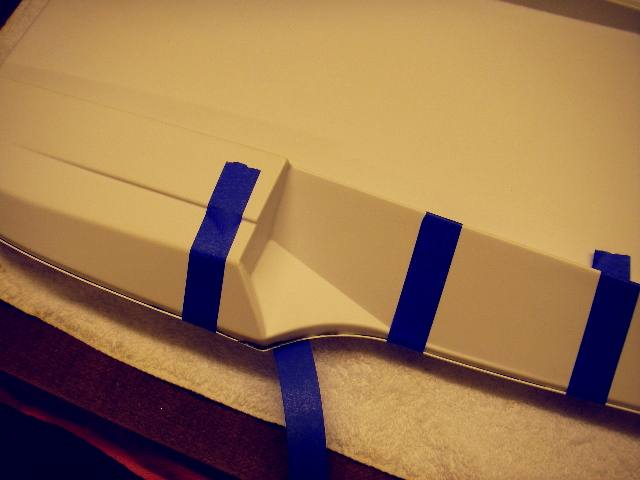
| Stop with taping the sides at this point. Then, turn up the boat and place the first bow-tape at the center, on the deck then while pinching the deck over the hull, wrap over to the hull | A total of 5 pieces of tape will evenly secure the bow of the boat. Stick them to the top deck first, then pull downward while holding the hull, making sure the hull is tucked under the lip of the deck. Pull to ensure the deck is overlapped on the hull then stick to the hull. If the seam is uneven, remove a piece of tape, adjust, and retape. | Carefully engage the hull sponson tip into the deck. Don't force the plastic. Use a fingernail to push the hull plastic under the deck plastic, then secure with tape. |
| You should not have to force this joint much. If it isn't coming together, check the front ends of the ribs to make sure they are seated in the hull and deck slots. Check the carbon-fiber rod to make sure it is seated in its groove and into the recesses in the deck and hull at each end of the rod. If it has slipped out, use a push pin or long nail to ease it back into position. | ||
 |
 |
 |
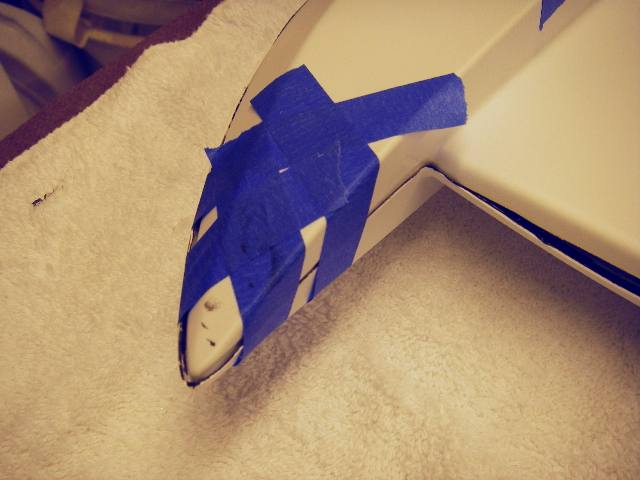
| Continue to hold the sponson together as you add 2 more pieces of tape. | The 3rd piece will be at the back of these two pieces. Unlike this photo shows, be sure to tape the center deck/hull first, then do the sponson tips. | Leave the ends of the tape raised or folded over for easier removal. |
 |
 |
 |
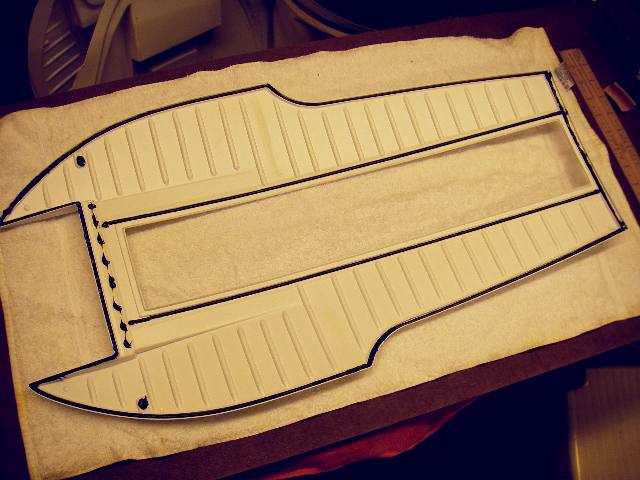
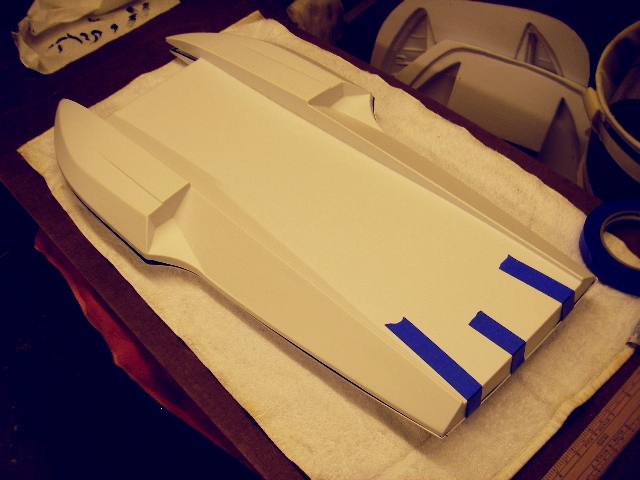
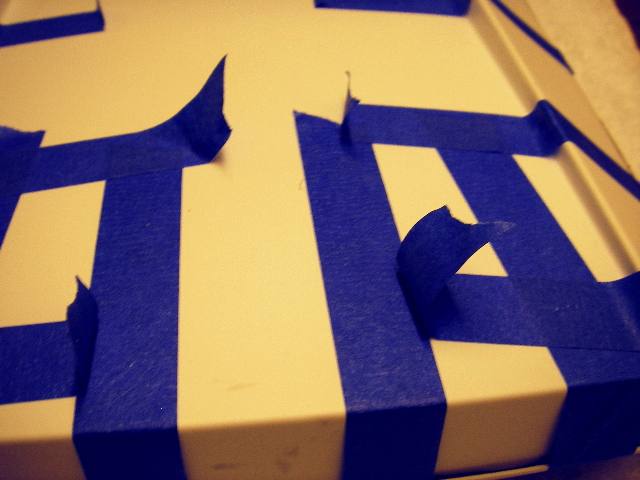
| This is the hull-side fully taped. | This is the deck-side fully taped. | Add long strips of tape to secure the ends of each piece to keep them from coming off while the sealant cures. |
 |
 |
|
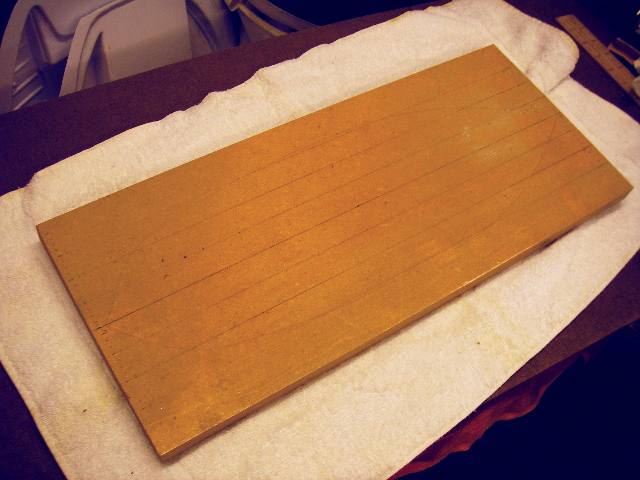
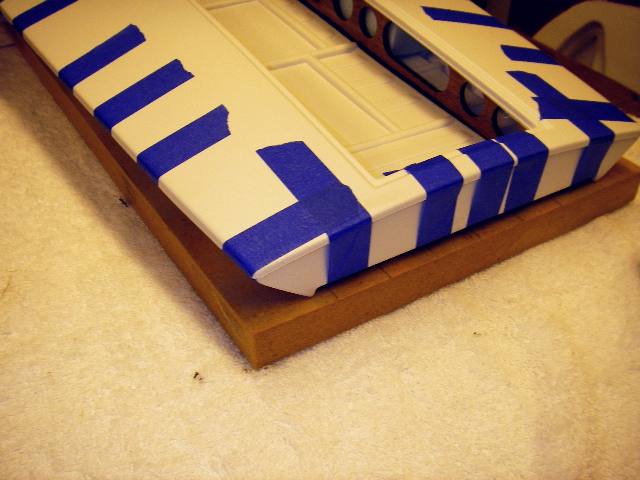
| Have a flat board or flat surface to place your model. | It should evenly sit on 4 points of contact. If one point is not touching, give the boat a slight twist to make it square. | Check inside the hull to make sure the ribs are still aligned to the hull and deck slots. There will be a small gap at both ribs where they touch the underside of the deck that will be closed by the next step. |
 |
 |
 |
| With the hull still on the board, place 4 scraps of wood or cardboard on the hatch opening as shown. For a smoother arc to the deck/hatch, use a rib to cut a curve into one side of two 1-inch wide piece of styrofoam, lay the curve down onto the deck along each side of the hatch opening. Set your weights on the flat top of the strips. This distributes the pressure more evenly along the opening. | Set four 2-pound (1 kg) weights on the scraps. After setting the 4 weights, gently press each weight to ensure the deck is in contact with the ribs. | The weights will hold the deck to the ribs and help hold the hull square until the sealant cures. At 70 - 80 degrees Fahrenheit, it will take about 2 -3 days to fully cure. |
| When you are installing the plywood base of the motor mount, be sure to sand the hull recess made for the plywood motor mount base. Styrene must be scuffed/sanded for epoxy to bond with it. | ||
 TM
TM