Twin Drive Vac-U-Tug
Rob wanted to see a single-motor, gear-driven twin drive system. This was simpler to design and install. This was one of those "I wonder if you can..." moments.
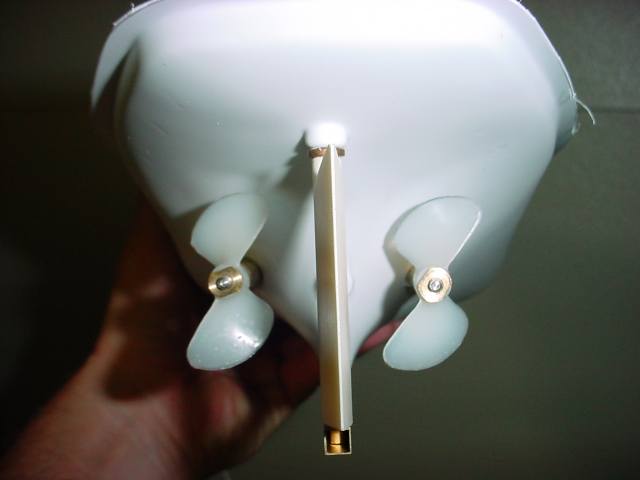
| Getting started, I set the props on the motor shafts to determine spacing. 1-7/8 inch looks about right. | 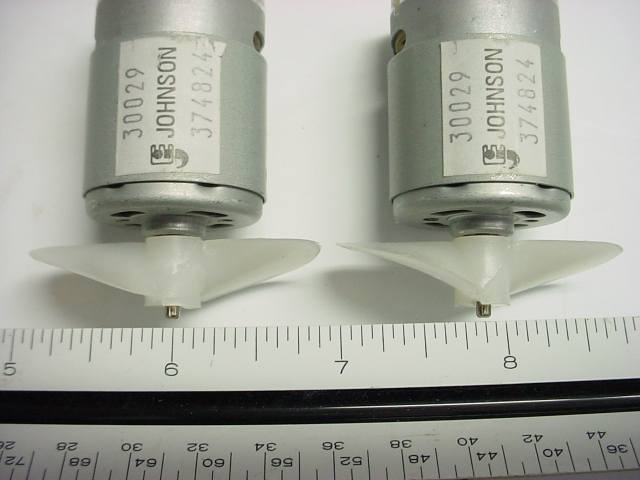 |
| Turns out the motor mounts for the Vac-U-Duck provide just the right spacing. | 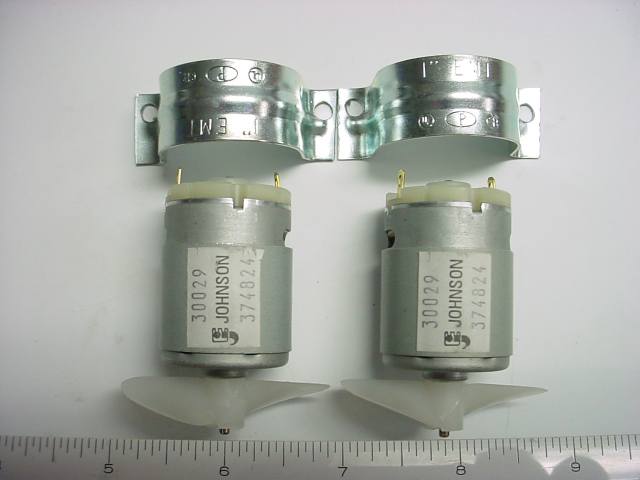 |
| The outboard side of the clamps are tight to the motor tray. The inboard screws are tightened enough to hold the motors but not too far. | 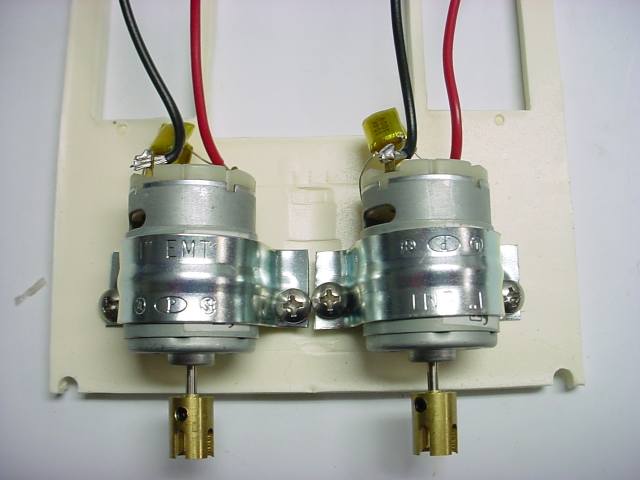 |
| Motor leads are spliced together with the motors wired in parallel. This simplifies the connection to the single ESC which will control both motors. | 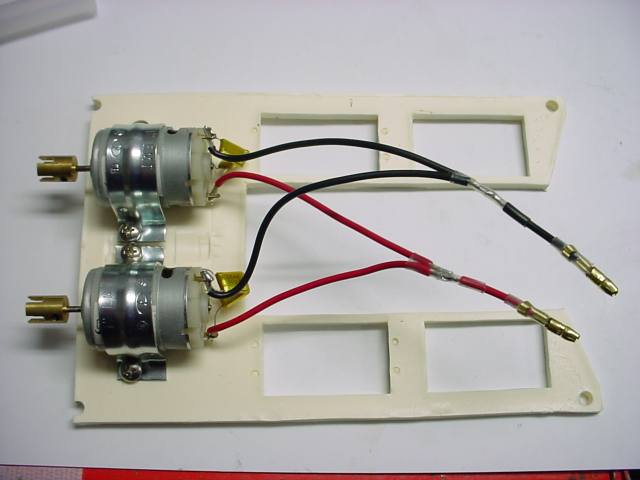 |
| Using two shaft alignment tubes I project the intersection of the shafts to the rear of the internal tray. |  |
| I make large holes in the tray for the shafts. | 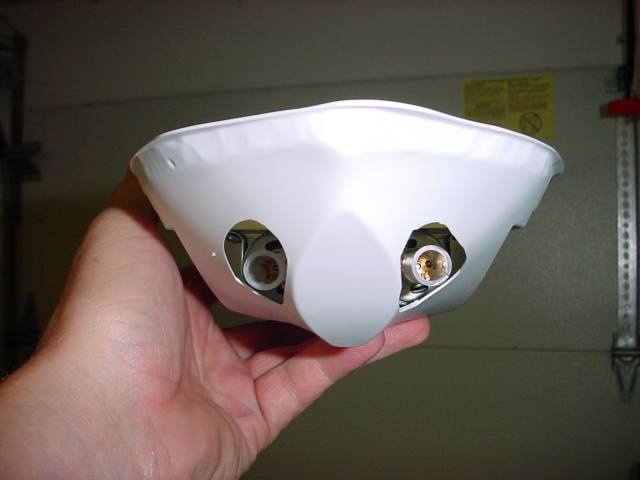 |
| Now carefully cut openings in the hull as shown. The flat area between the shafts on the internal tray needs to be cut open as well to access the screws for the skeg. | 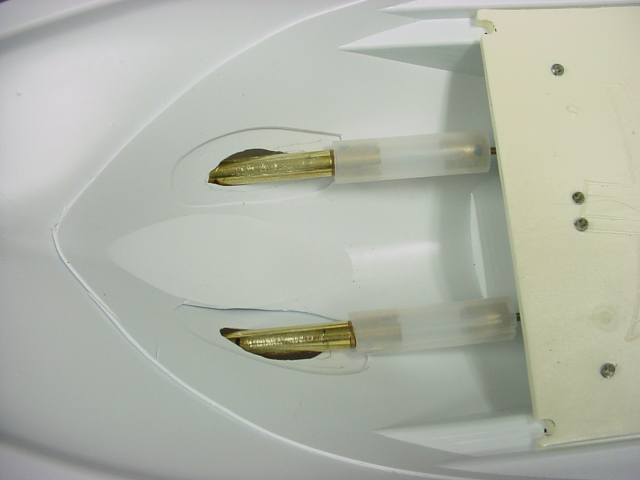 |
| Some masking tape will hold the shafts in alignment and serve as a form for the epoxy where the holes are larger than the shafts. | 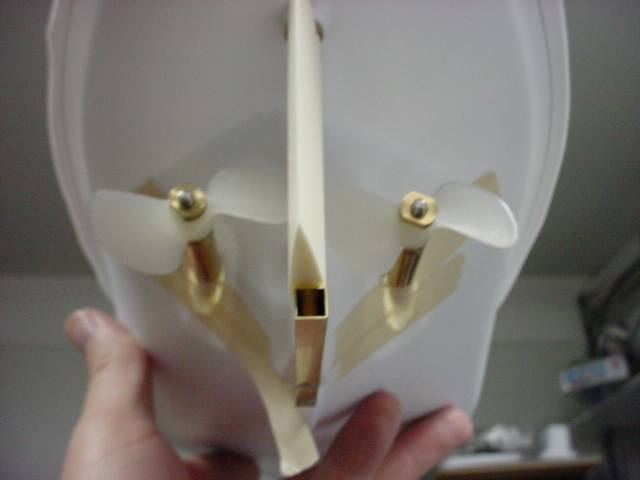 |
| A quick visual check for alignment of the shafts. The left one was a little high so I repositioned it. |  |
| Now you are ready for the first application of filled epoxy. As in the original instructions, keep the filled epoxy off of the internal tray for now. |  |
| After gluing the internal tray into the hull, add more filled epoxy. Notice I finally cut open the flat area to access and epoxy the skeg screws. | 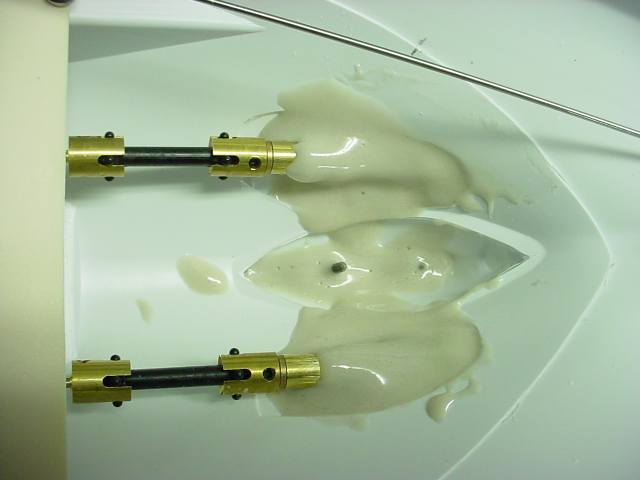 |
| I started with 8 oz. of ballast in back and 10 oz. in front then floated the boat to the correct waterline for a total weight of 65 ounces. I ended up with about 10 ounces in the back and 12 ounces in the front. | 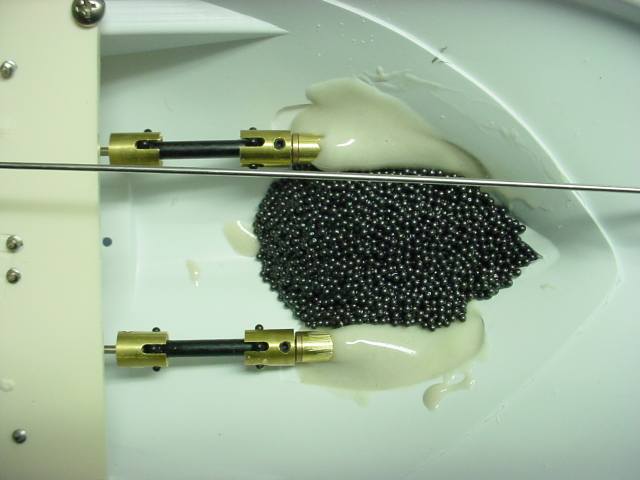 |
| I aligned the shafts to approximately the same height as a single shaft boat with the props further forward. | 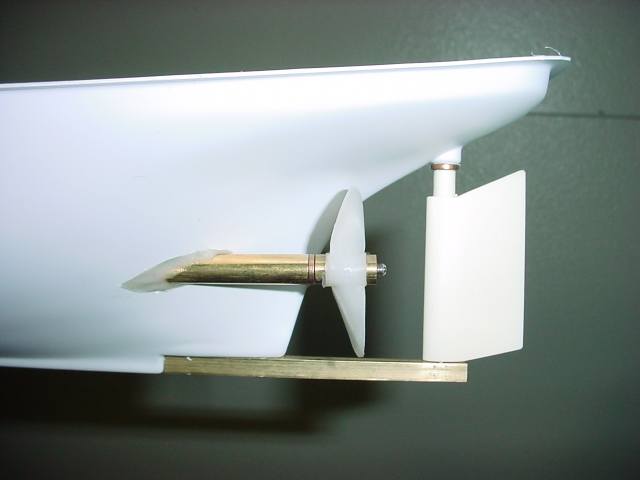 |
| In tests, I had very good rudder control with
a turning radius of about four feet either way. With 7 cells each, this
boat was a little faster and was able to out-push a single screw tug with
the 4 blade prop. Rob will mount two 4 blade props on his tug. Changing
props is easy as you don't have to remove the rudder as in single shaft
installations. I installed the deck to the hull with Seamstick Tape, a very tacky double-sided 1/4" wide tape used to make sails with. It can be found at http://www.mariner-sails.com/ It bonded well, hasn't leaked, and may allow me to remove the deck in the future. You still have to follow the bow-to-stern clamping procedure used for CA glue. More photos and performance information in the future. |
 |
 TM
TM